How to draw white hairs and whiskers in 7 different ways for colour pencil artists
If you are new to colour pencil or have been drawing with colour pencils for a while then you would have come across drawing whiskers or fine white hairs at some point. Every pet portrait artist will know what I mean when I say that they can really make or break a piece. Getting them right is so important for realism but because it is hard to layer light colours over dark using coloured pencil there are a few techniques you can use to get around this.
In this blog post I will explain the 7 main methods you can use to create white hairs and whiskers for animal and pet portrait in colour pencil.
How To Draw White Hairs And Whiskers In 7 Ways:
1. Using a hard-white pencil.
2. Draw over indented lines.
3. Scraping off layers of pencil.
4. Using a Battery operated eraser.
5. Using a brush pen.
6. Using white paint.
7. Using a gell pen.
Method 1: use a hard-white pencil to create white hairs
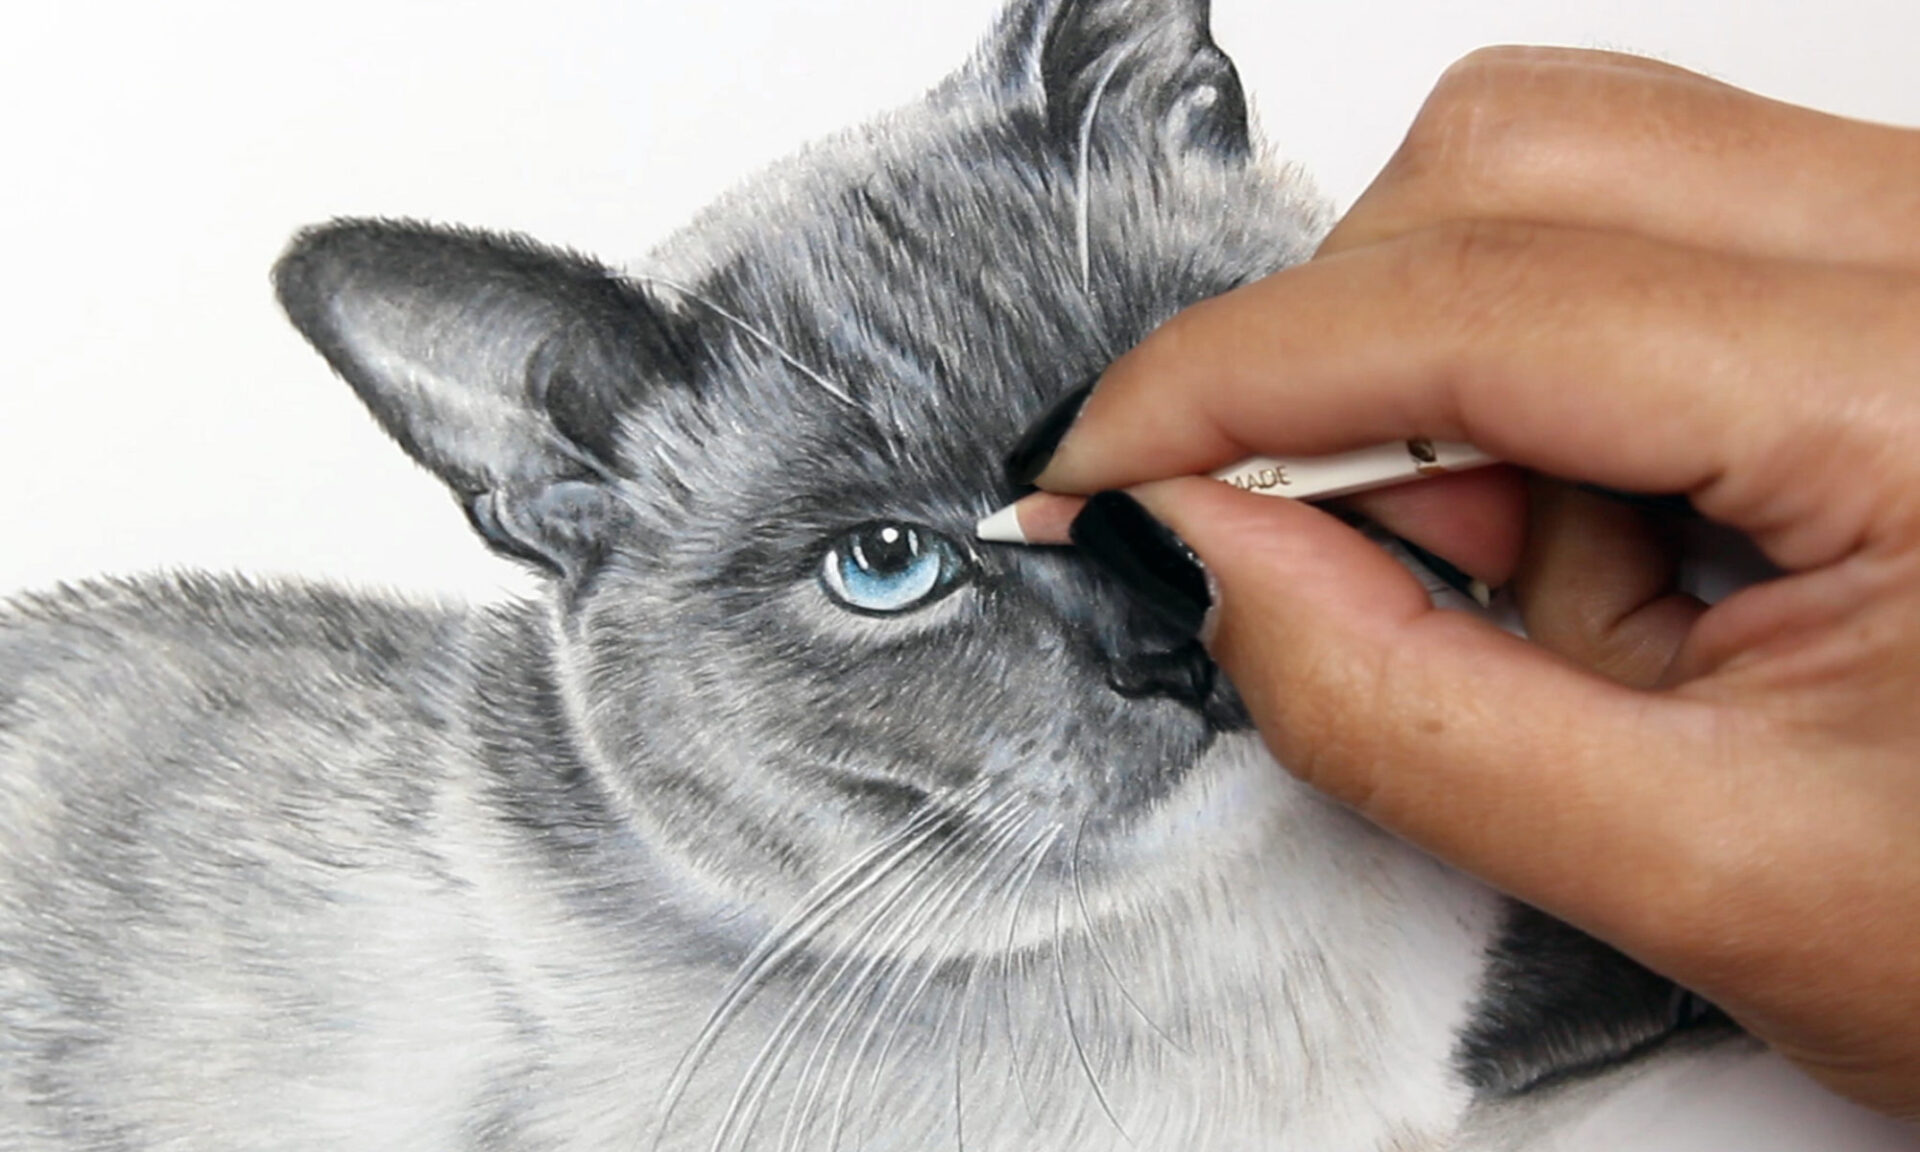
Tools: Caran D’Ache Pablo White, Windsor & Newton Fixative
The humble white pencil is the most obvious method for creating white hairs and whiskers but which one actually works? You may find the soft waxy pencils blend more then they layer, so when you want a sharp white line a much harder pencil pigment is needed. I have found that the best pencil for the job is the Caran d’Ache Pablo white pencil. Here is how to use it:
Step 1
Sharpen the Caran d’Ache Pablo pencil to a very sharp point. Mechanical desk sharpeners are really good for this job. You can also use a sandpaper sharpening block after sharpening to refine that point even more!
The sharper the point, the better the result.
Step 2
With moderate pressure, draw on the fine white hairs and whiskers. Because the pencil is so hard and so sharp it basically digs into the layers of colour pencil you have already laid down on your paper leaving a bright enough mark. Thicker brighter whiskers will require a different method but this is perfect for finer hairs and reflections in the eyes.
Step 3
Keep sharpening your point after every few hairs so the mark is as bright as possible.
Tip – Use this method at the very end of your drawing and don’t brush off excess pencil after as this will dim your marks. Just gently blow off any excess pencil.
For better results spray fixative over your drawing and then use this method. The fixative will create a new layer over your drawing and therefore the white pencil will not blend with previous layers of colour. The Faber Castell Polychromo white is also good but I have found that the Pablo pencil gives a much brighter result.
Method 2: draw over indented lines to create whiskers
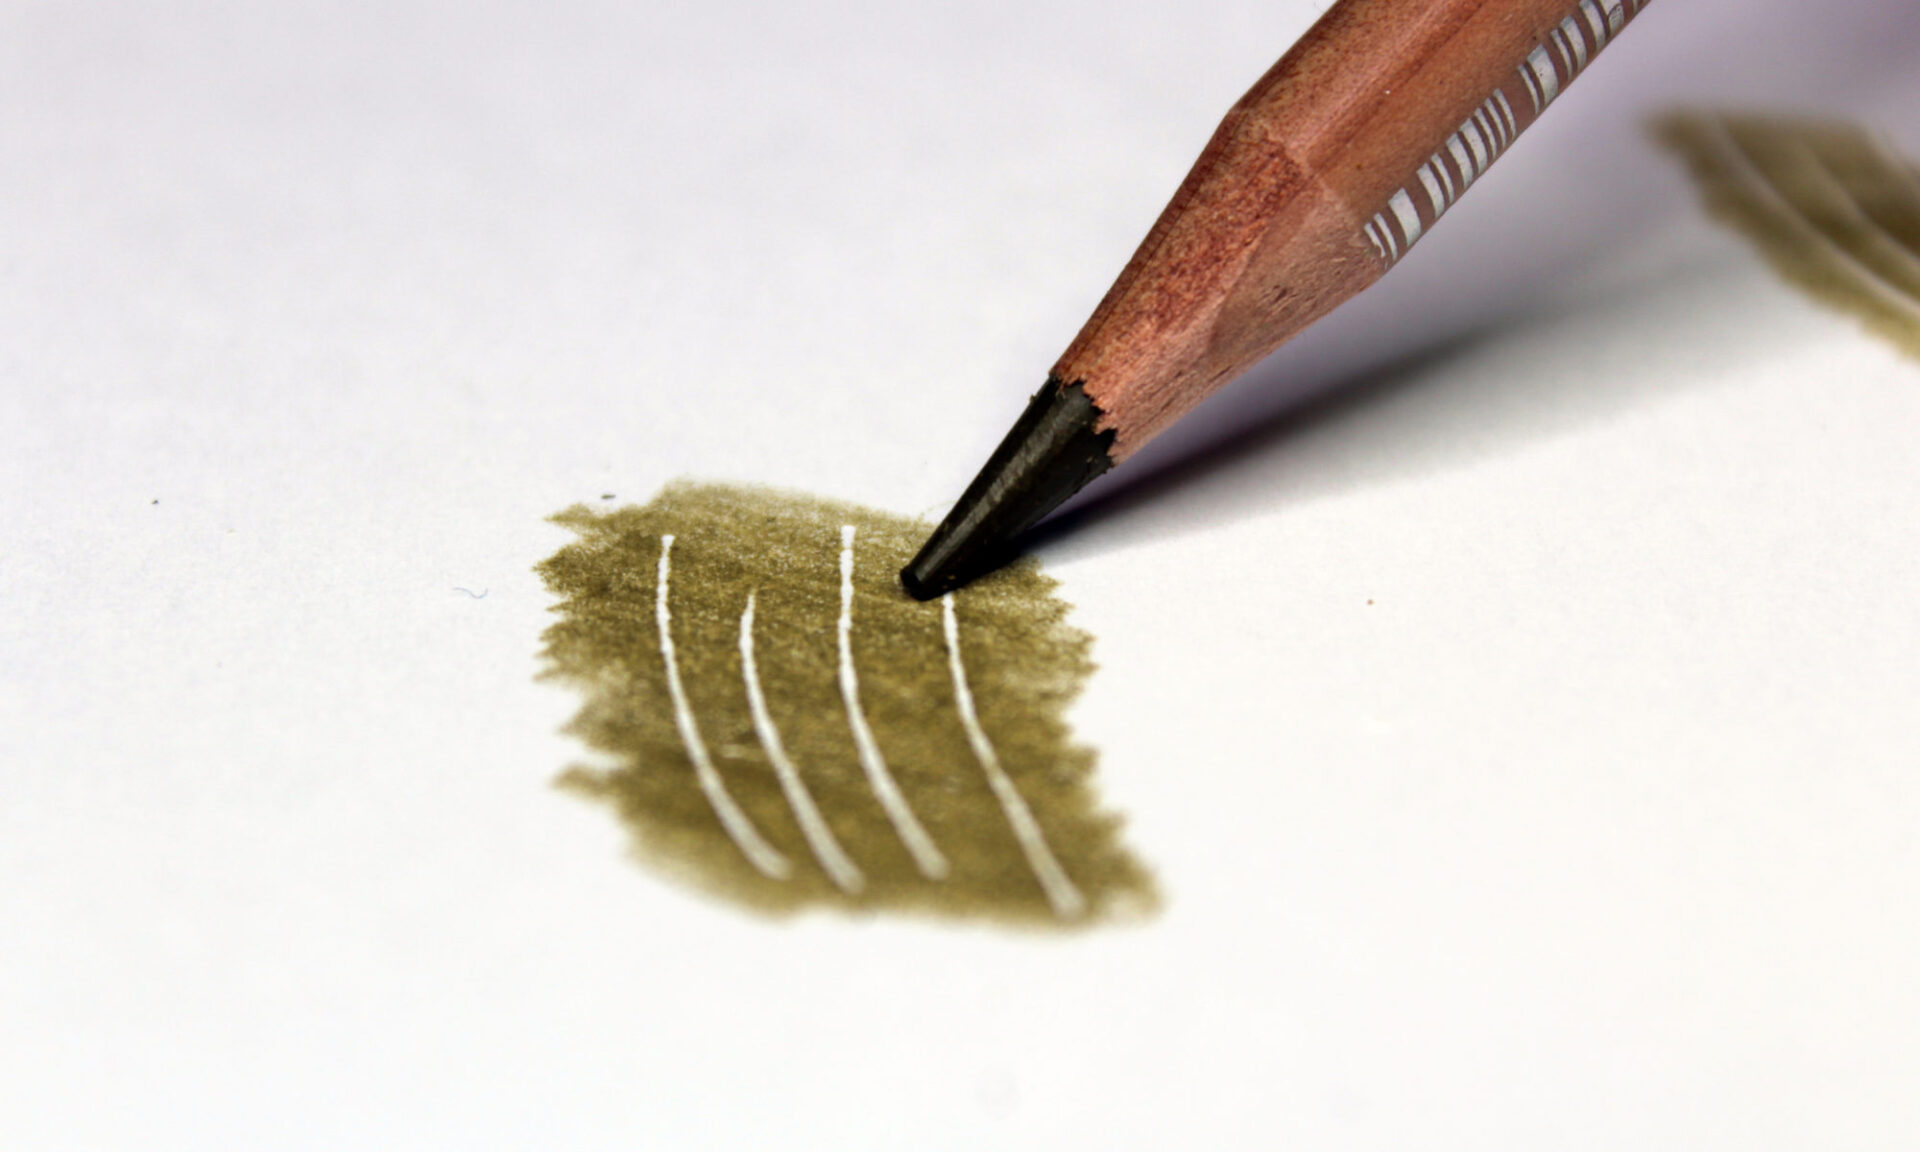
Tool: Papermania Embossing Tool
This seems to be the most common technique I have seen other artists use to create the whiskers and white fur on any animal. You can buy a set of various sizes so you can create different thicknesses of indents on your paper.
Step 1
If you want to create bright white lines, especially for whiskers, then use on clean fresh paper before adding any colour. I like to add my embossed lines during the tracing process so my lightbox can show me which lines should be bright white. This method doesn’t work if you are using a solvent like Zest It for blending since the liquid will fill in the gaps and indentations.
Step 2
Apply your layers of colour over the top as normal. The embossed areas will be left out leaving a white gap which you can then go over with a white pencil afterwards if you wish to make the lines more prominent.
Tip: Emboss as you would colour, start firmly and decrease pressure as you near the end of your line. This will create realistic looking hairs and whiskers.
Method 3: scraping off layers of pencil to create fine hairs
Tool: Slice Tool
The slice tool has been evolutionary to artists for creating fly away hairs and whiskers. You can gently scrape off a layer of pencil revealing the white paper underneath. I find this much easier to use rather than a craft knife because the ceramic blade is gentler on the smooth paper.
Step 1
This tool can be used to create fine hairs at any stage of the drawing but it is best done at the end when you have the most layers of colour pencil down.
Step 2
Use the slice tool to gently scrape off layers of pencil where you wish whiskers and fly away hairs to be. Then use a soft brush to brush away the bits of scraped off pencil. This will help to keep your paper clean especially if you are leaving the background white.
Step 3
To create a soft fur effect use a white pencil over the top of the areas you have scraped off to soften the harsh lines the slice tool has created.
Tip – The more layers you add the better the result will be and the safer your paper will be. You don’t want to cut through your paper if you are a little heavy handed. Practice before using on your finished artwork!
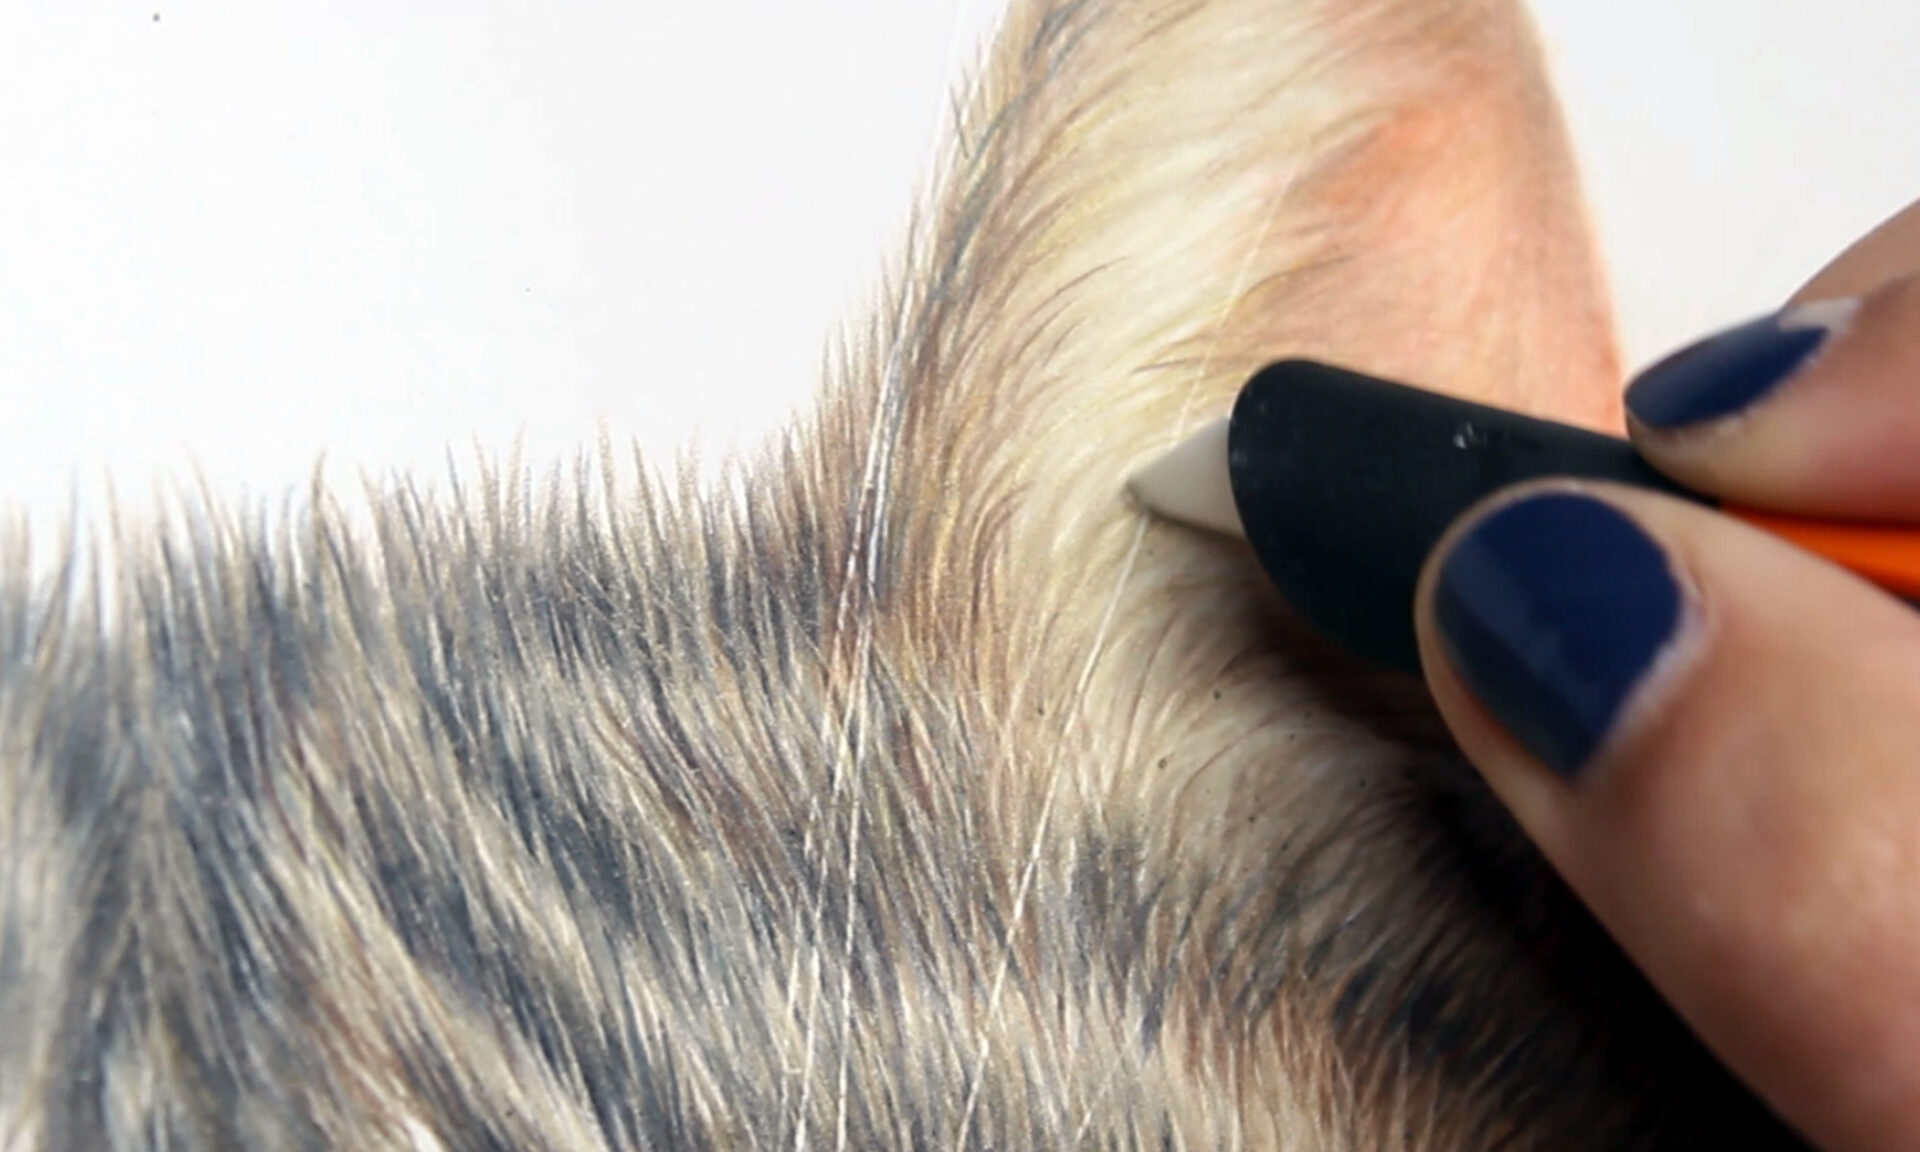
Method 4: use a battery-operated eraser to create whiskers
Tool: Battery Eraser, Sandpaper
Similar to using the slice tool to scrape off layers of pencil, you can use the battery eraser. Unlike other erasers, it has a very small and narrow end which means it is perfect for creating those big white whiskers you have been dreaming of!
Step 1
Create a finer point on the eraser by sharpening it on sandpaper at a 45-degree angle. Keep using the sandpaper to keep your point sharp during use.
Step 2
Using a smooth back and forth motion you can gentle erase through most of your layers of pencil revealing neat white lines.
Step 3
To create brighter lines you can use your hard-white pencil to fill in your newly erased gap. I have found this to be the perfect method for creating thick white whiskers and highlights in the eyes.
Tip – the sharper the point the finer the line you can create when you erase. Keep using the sandpaper to sharpen your eraser end.
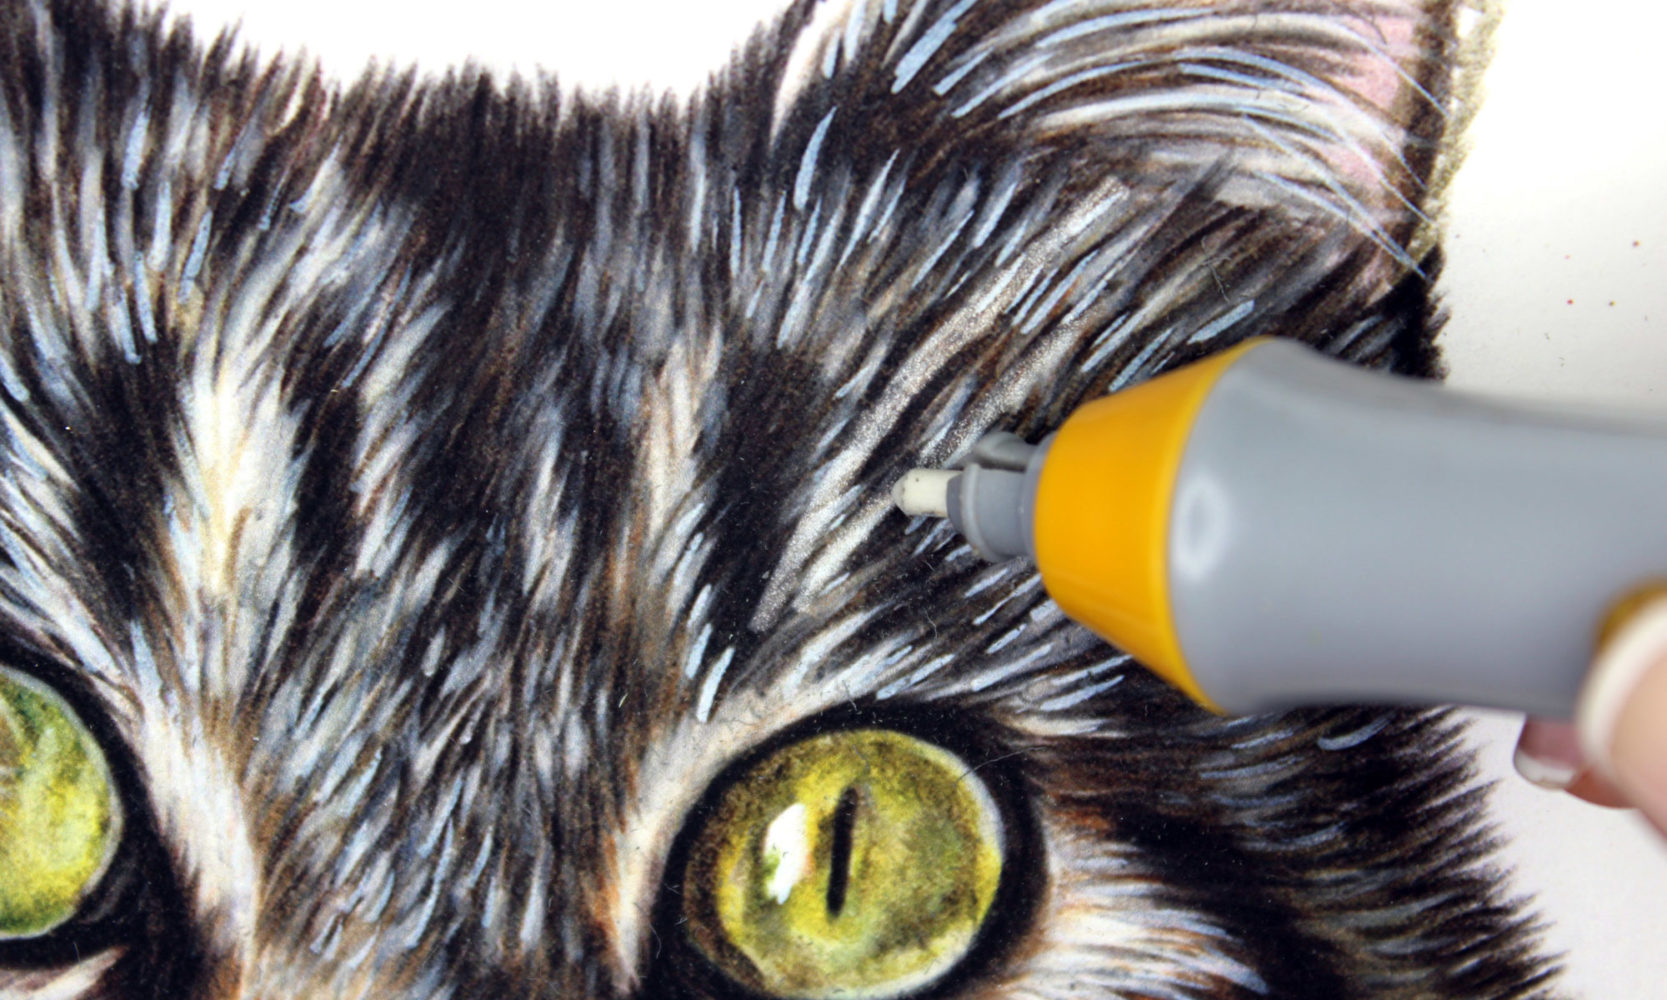
Method 5: use a brush pen to draw fine hairs
Tool: 5. Using a brush pen.
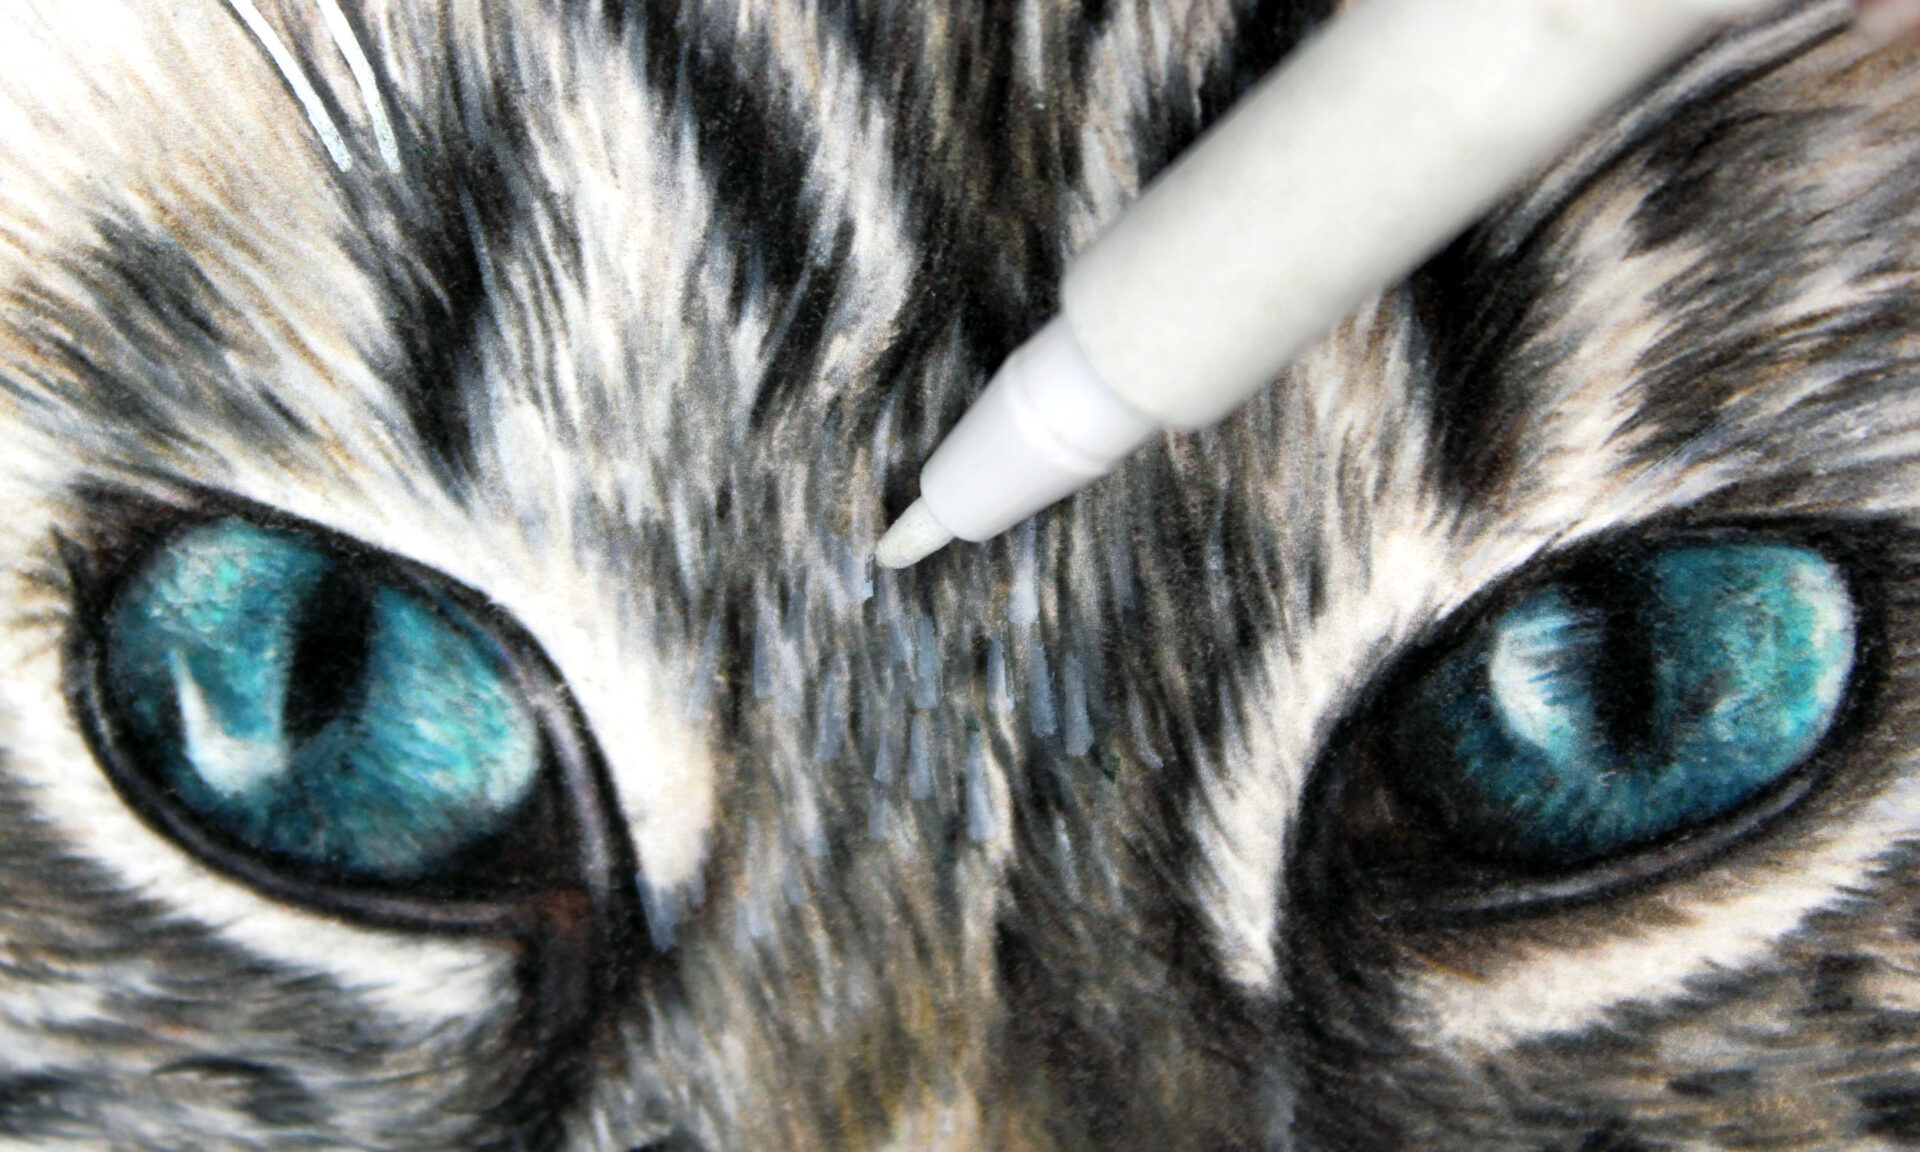
This brush pen by Faber Castell is lightfast which means the colour will not fade or yellow over time. This is perfect to use in conjunction with your high-quality colour pencils for commissions and original artwork for sale. I really like using this pen for my portraits and now I will explain how.
Step 1
You can use this pen to draw on fine hairs and whiskers in a smooth and light motion in the direction of hair growth. The pen will initially appear light or slightly translucent but it will become more vibrant and lighter once dry.
Step 2
You can use this pen in between layers of colour pencil drawing as it is easy to draw over. I like to use it for areas around cat eyes to keep it light and detailed.
Tip – This technique works better on areas of lighter colours as it doesn’t show up as much over very dark areas.
There are archival and non-archival ways of creating the same end result and I will explain what this means and why it is important. The first 5 methods are archival whereas the next 2 methods are not.
Archival means the materials used to create the artwork will last a long time so they are suitable for exhibiting and selling originals. When creating colour pencil commissions, you want to be sure to use archival materials so your client’s artwork will last as long as possible. You don’t want a client coming back to you in a years’ time saying the whiskers have flaked off, disaster! So, if you are selling original pieces of art use the archival methods for creating the fine hairs and whiskers, if you are creating prints or artwork for reproduction then any method would do.
Method 6: use white paint for whiskers
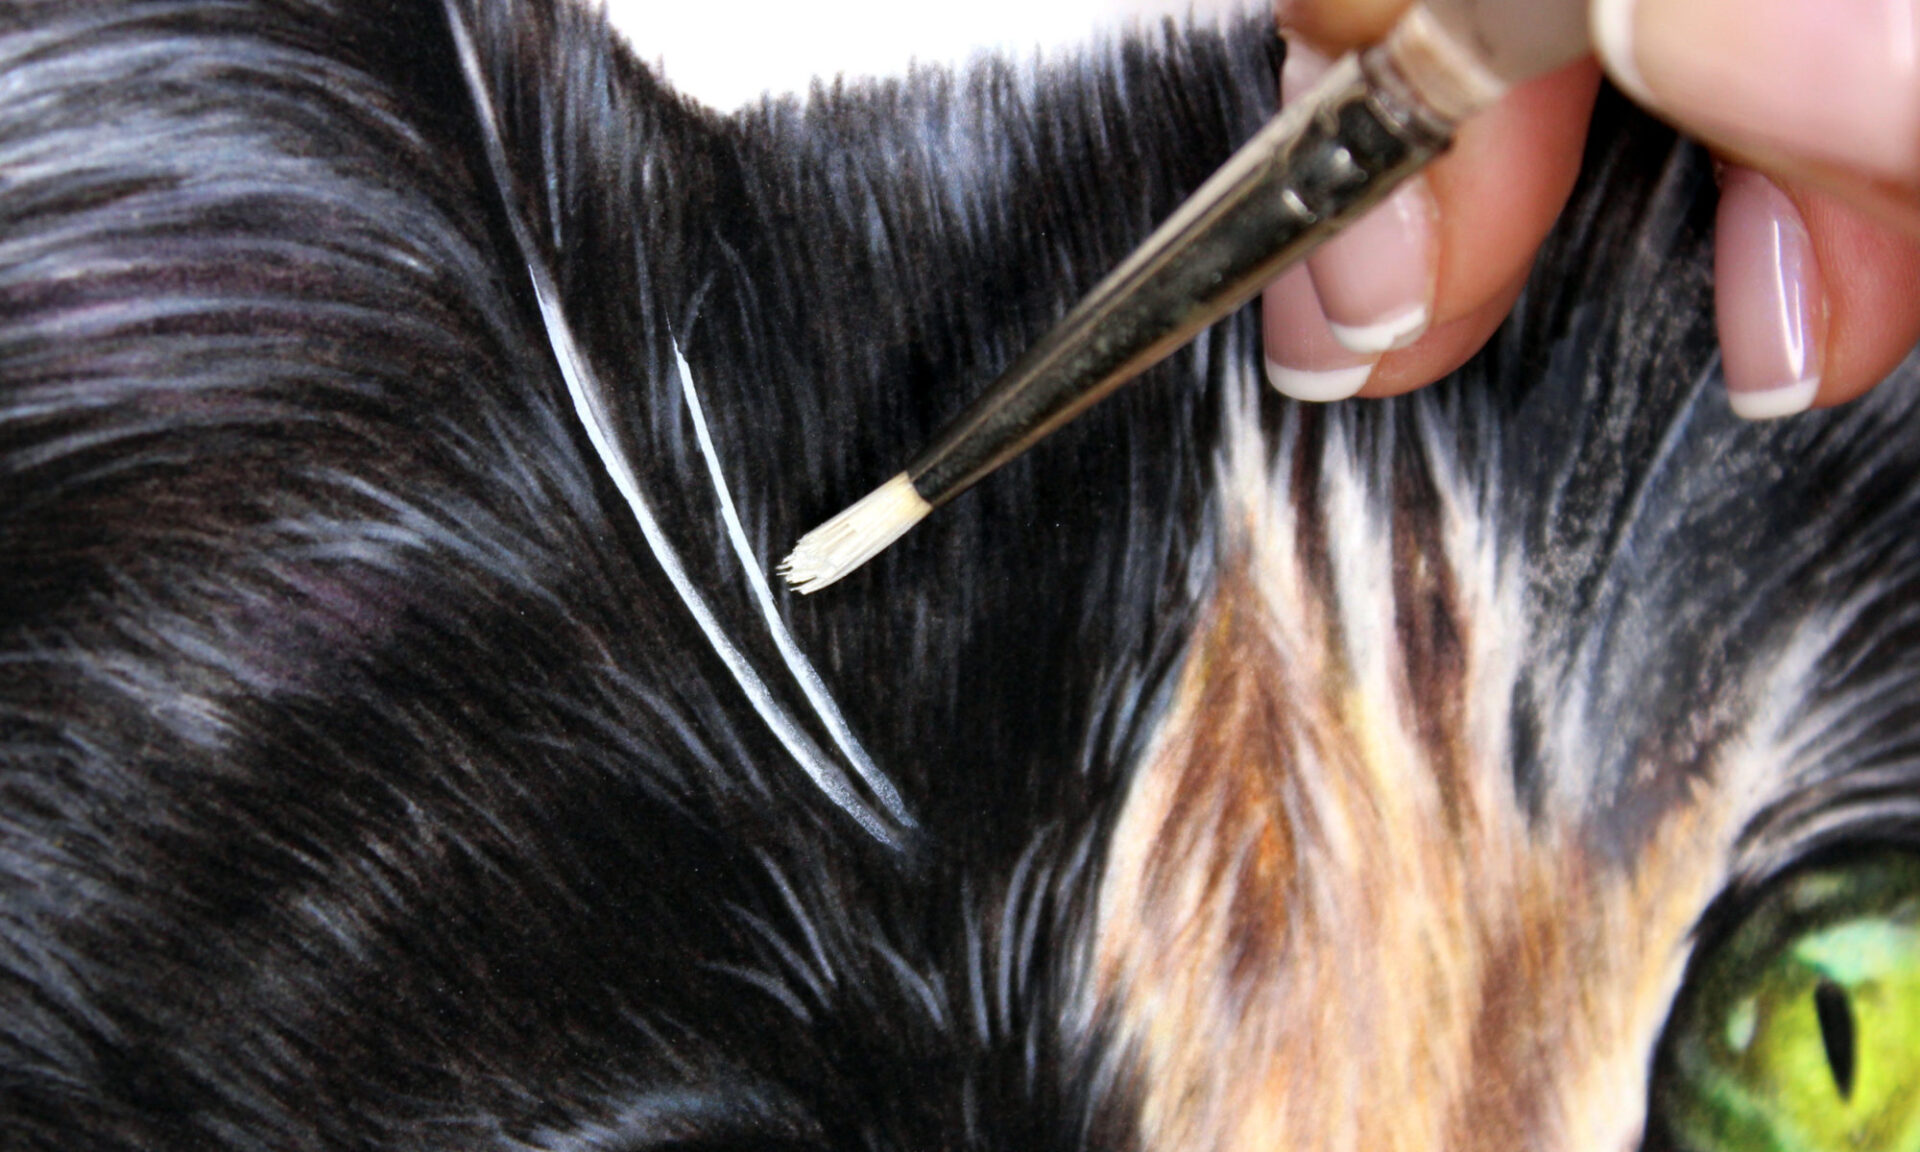
Tool: Designers Gouache, Fine Paint Brush
Using designers gouache paint is much better then using any cheap white paint because the colour will stay vibrant for longer. Which is what you want from your white hairs and whiskers. Unfortunately using white paint over the top of colour pencil isn’t archival because the paint may flake off over time. But if you are creating cards or prints of your artwork then this is the perfect method for getting that vibrant white that you need.
Step 1
Best used at the very end, add a touch of paint on the end of your finest brush. You don’t want the consistency to be too watery or too thick so test a little line on a piece of paper before applying to your artwork.
Step 2
Gently apply the paint in a smooth motion, you can use your wrist to lean on and rotate from. This will create a smooth and constant line for whiskers. For fine hairs you can flick from the wrist to create delicate fine hairs.
Step 3
Once the paint is completely dry you can use colour pencil over the top to slightly blend and feather the ends into the fur. This gives a more realistic effect of white hair growing out of the fur.
Tip – This method is best for creating thick and prominent whiskers.
Method 7: use a gel pen to draw white hairs
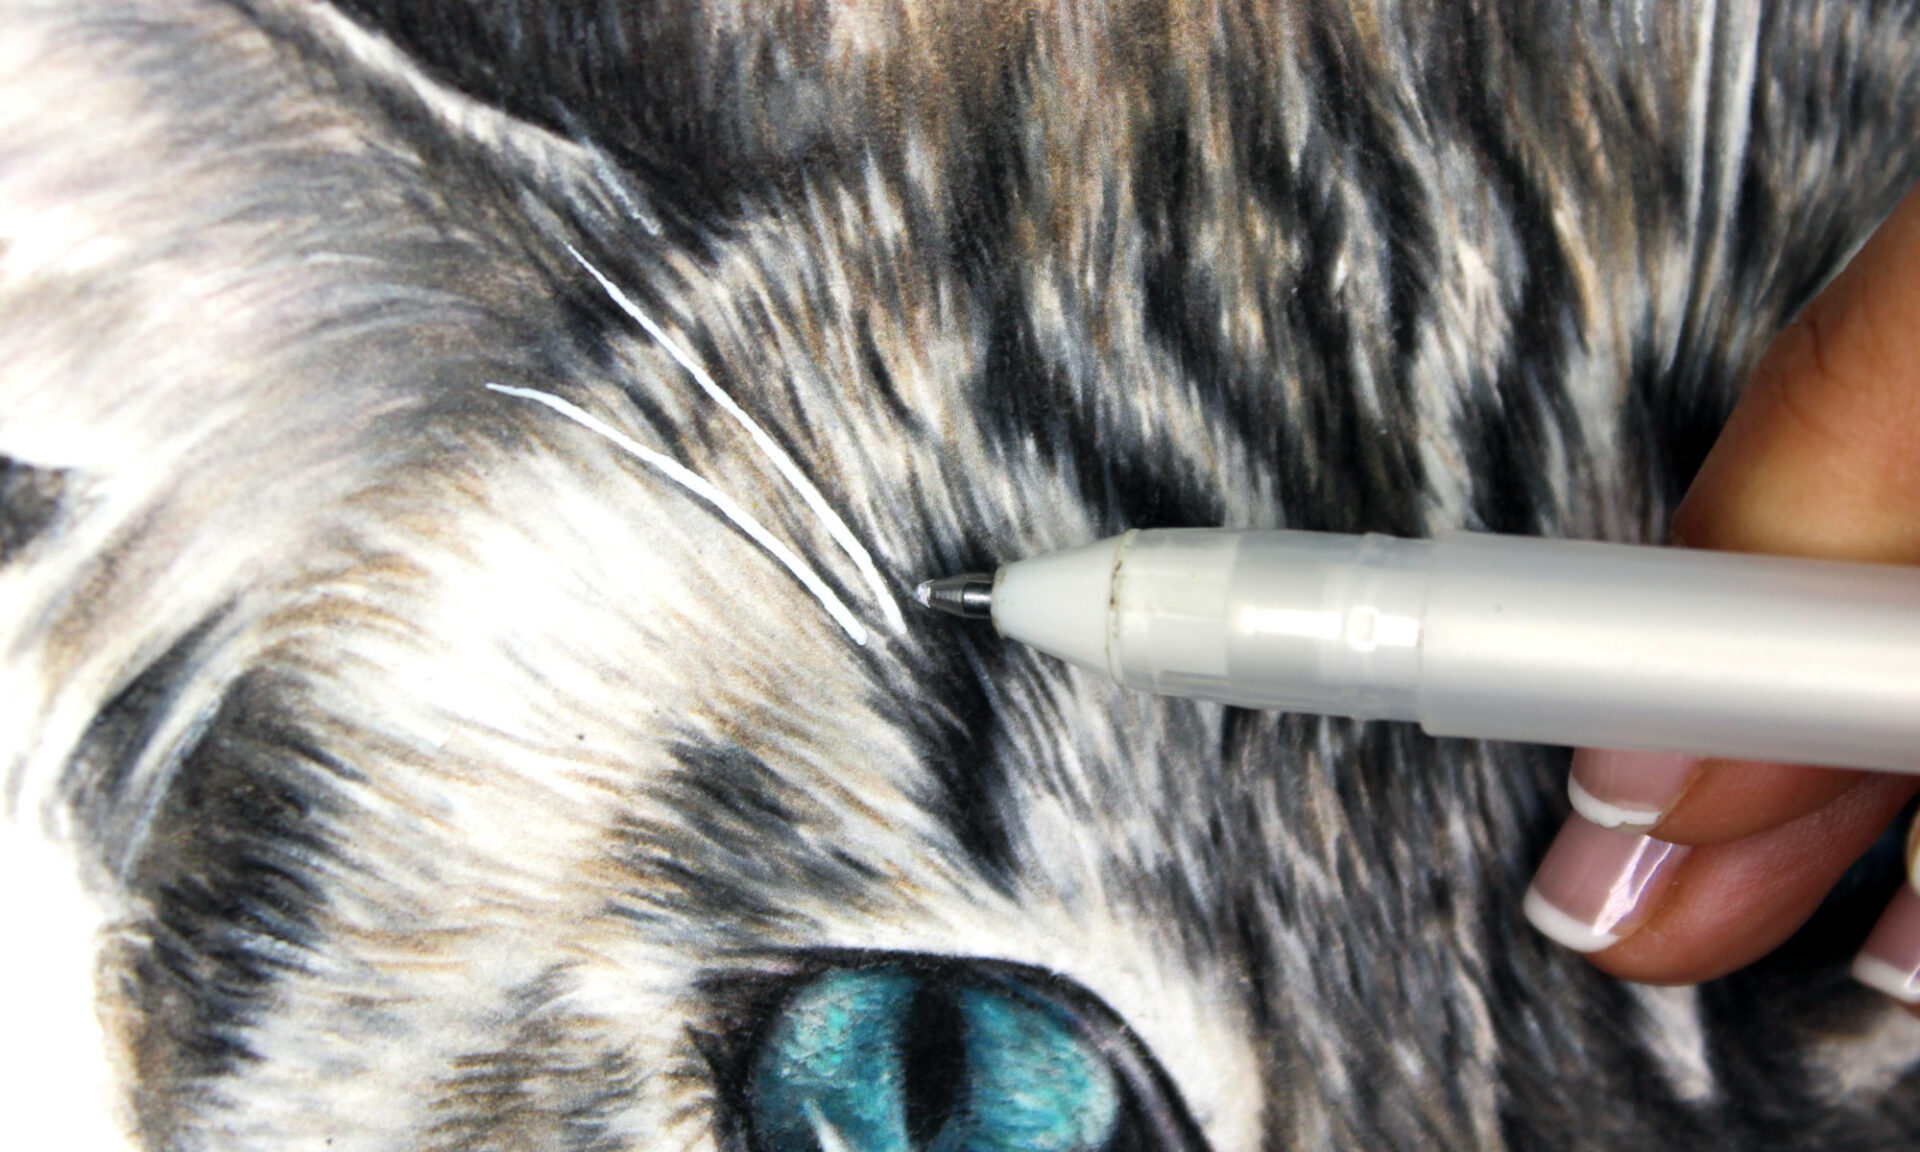
Tool: Gelly Roll 08
Again, this method is not archival because the gel pen ink can flake off over time. Colour pencil, after burnishing doesn’t have sufficient friction for keeping the ink on the surface. Like using the designers gouache you can create very vibrant white lines which is perfect for whiskers and eye reflections.
Step 1
Similar to the designers gouache paint it is best applied to your artwork at the very end.
Step 2
Apply in a smooth motion and move slowly so the mark is consistent. You can practice on a piece of paper before directly attempting this on your artwork. If you do make a mistake you may be able to carefully scratch it off once it is completely dry.
Step 3
Once it is completely dry use a colour pencil to feather and blend in the ends making it look more realistic.
Tip – Using the gel pen instead of the white paint means you have more control during the application and it is less messy.
Don’t be afraid to mix these techniques or come up with your own. Contact me if you have any more questions about my techniques and the materials used. I’d be happy to get back to you as soon as I can. Comment below if you found this useful.
I truly appreciate this post. I have been looking everywhere for this! Thank goodness I found it on Bing. You’ve made my day! Thank you again