How to conservation mount your artwork step-by-step
Sema Martin | 26 February 2022
After spending hours or even days on a piece of work, you may want to give it the finish it deserves. In this article we will talk about why mounting is important, the materials you will need to mount using the conservation method and the step-by-step process.
Common questions on mounting artwork answered:
1. What is mounting?
2. Why do I need to mount my artwork?
3. What materials do I need to mount my artwork?
4. How to mount your artwork step-by-step
What is mounting?
Mounting, also known as matting or ‘passpartout’, is a flat frame that surrounds a picture or artwork on paper. This can be used for decorative or protective purposes. The mounted artwork or picture can then be placed in a frame.
Conservation mounting is when you use specific materials and techniques that protect your artwork from ageing or becoming damaged.
Why do I need to mount my artwork?
Mounting artwork that has been produced on paper not only adds a layer of protection but also to the aesthetic. By placing your artwork in a mount you will protect it from bending, damage, and touching the glass of a frame. Without a mount, the glass may rub off pigments of your artwork over time or cause your artwork to stick to it, making it difficult to remove without damage. A mount not only stops this from happening but will also allow the paper of your artwork to breathe. Paper natural expands and contracts depending on the moisture of the air so the mount will allow your artwork to do this without causing damage, prolonging the life of your masterpiece.
A well-mounted artwork can help the sale, making your art look more professional and customer friendly.[/vc_column_text][vc_column_text]
What materials do I need to mount my artwork?
You will need the following materials and equipment to properly and professionally mount your artwork:
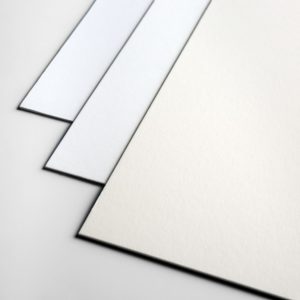
1. Mountboard
There are four main types of mountboard:
Standard Mount Board

This is the cheapest type of mount board and is only suitable for short-term or low-value framing.
Whitecore Mount Board
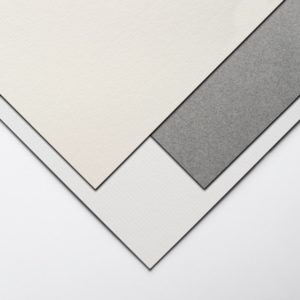
This mount board consists of three layers; a 110gsm paper surface, a 1.1mm thick, fully coated, bleached paperboard core which is acid-free and which can be used in direct contact with the artwork, and a backing layer of white chlorine- and acid-free cellulose paper.
Conservation Mount Board

The conservation board is made from chemically purified wood pulp to remove the acid-forming substance, therefore making it acid-free. This board is ideal for framing and presentation and not too expensive.
Cotton Museum Mount Board
These 100% cotton fiberboards are very high quality and perfect for archival framing. The most expensive out of all the boards. They are the board of choice by many museums and galleries worldwide. Cotton Museum board comes in two types; buffered (with calcium carbonate to maintain slight alkalinity) and un-bufferend. It has the cleanest cut and has a slight vellum surface to help compliment the artwork.
2. Mechanical Pencil
Using a mechanical pencil is a great way to ensure precision when marking out your mount measurements and drawing your lines. Millimeter errors could make a difference to the look of your mount. This mechanical pencil by Faber Castell is beautifully designed and perfect for this job.
3. Ruler
Use a metal ruler to cut along your pencil marking with a craft knife. This is the safest way to cut accurately.
4. Craft Knife & Cutting Matt (optional)
Use a cutting mat and a craft knife to cut your mount board to size. you will then use a 45-degree cutter to cut out the window of your mount.
5. 45-degree mount cutter (optional)
This mount cutter will allow you to create a 45-degree angle Bevel straight edge on mat boards. If you purchase precut mounts you will not need this cutting tool.
6. Acid-free hinging tape
The hinging tape is what you will be using to attach your picture to the mount board so this also needs to be acid-free. Ph neutral tapes are the best choice and come in a variety of forms such as gummed or self-adhesive.
7. Folding Tool (optional)
You can use a folding tool to press and secure the tape to the mounting board.
8. Double-sided tape
This tape is used to attach the window mount to the backing board, sandwiching your art in between. You can use any type of double-sided tape since it won’t be in physical contact with your work.
How to mount your artwork step-by-step
There are many mounting design options using the above materials, such as single-window mount, double-window mount, multiple aperture window mount, float mount, shadow float mount and single mount. The following step-by-step process will take you through the single window mount design. Window mounting which is a traditional form of mounting and can be used for original artwork on paper as well as fine art giclée prints.
Step 1 – Measurements
Exterior Measurements
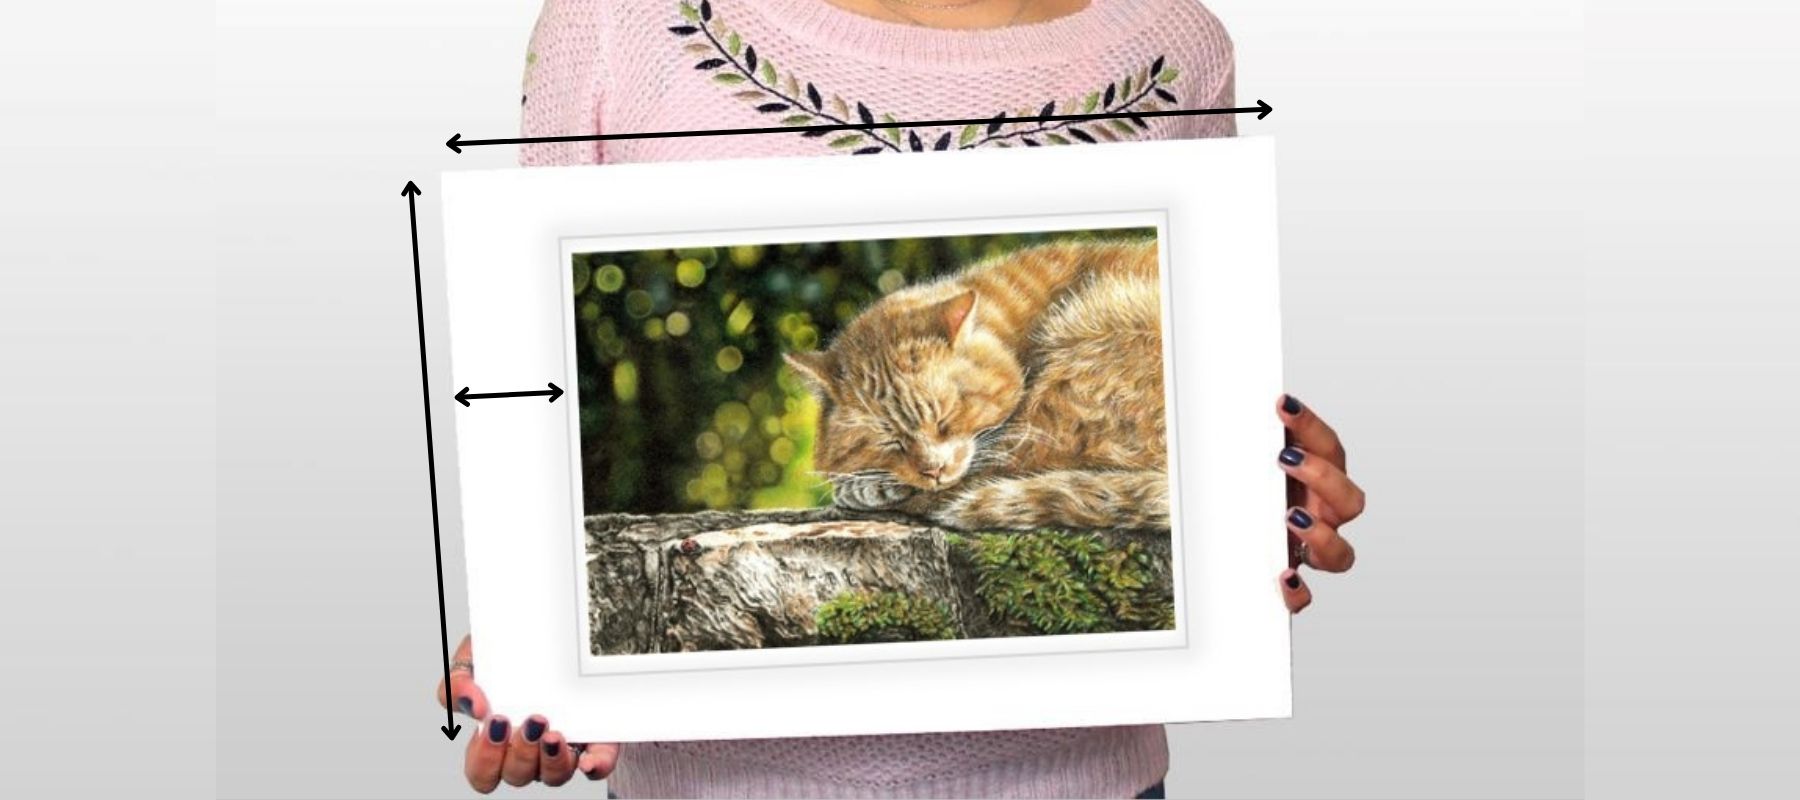
First, measure your artwork accurately using your ruler and decide how big you want your margins surrounding the artwork. Generally, smaller artworks look better with large margins. For instance, give at least a 3cm margin around the artwork, or to the next A size up, so an A4 paper would be mounted to an A3 size etc.
There are no rules when it comes to sizing but it is best to consider how your work will be sold. If you are not providing a frame then, ideally the exterior measurement of your mount would fit a standard frame size, making it easy for your customers to frame.
Once measured, mark out your measurements using your mechanical pencil then cut to size using your craft knife, ruler and cutting mat. By the end, you should have two mount boards of the same external measurement, one for the front and one for the back.
Aperture measurements
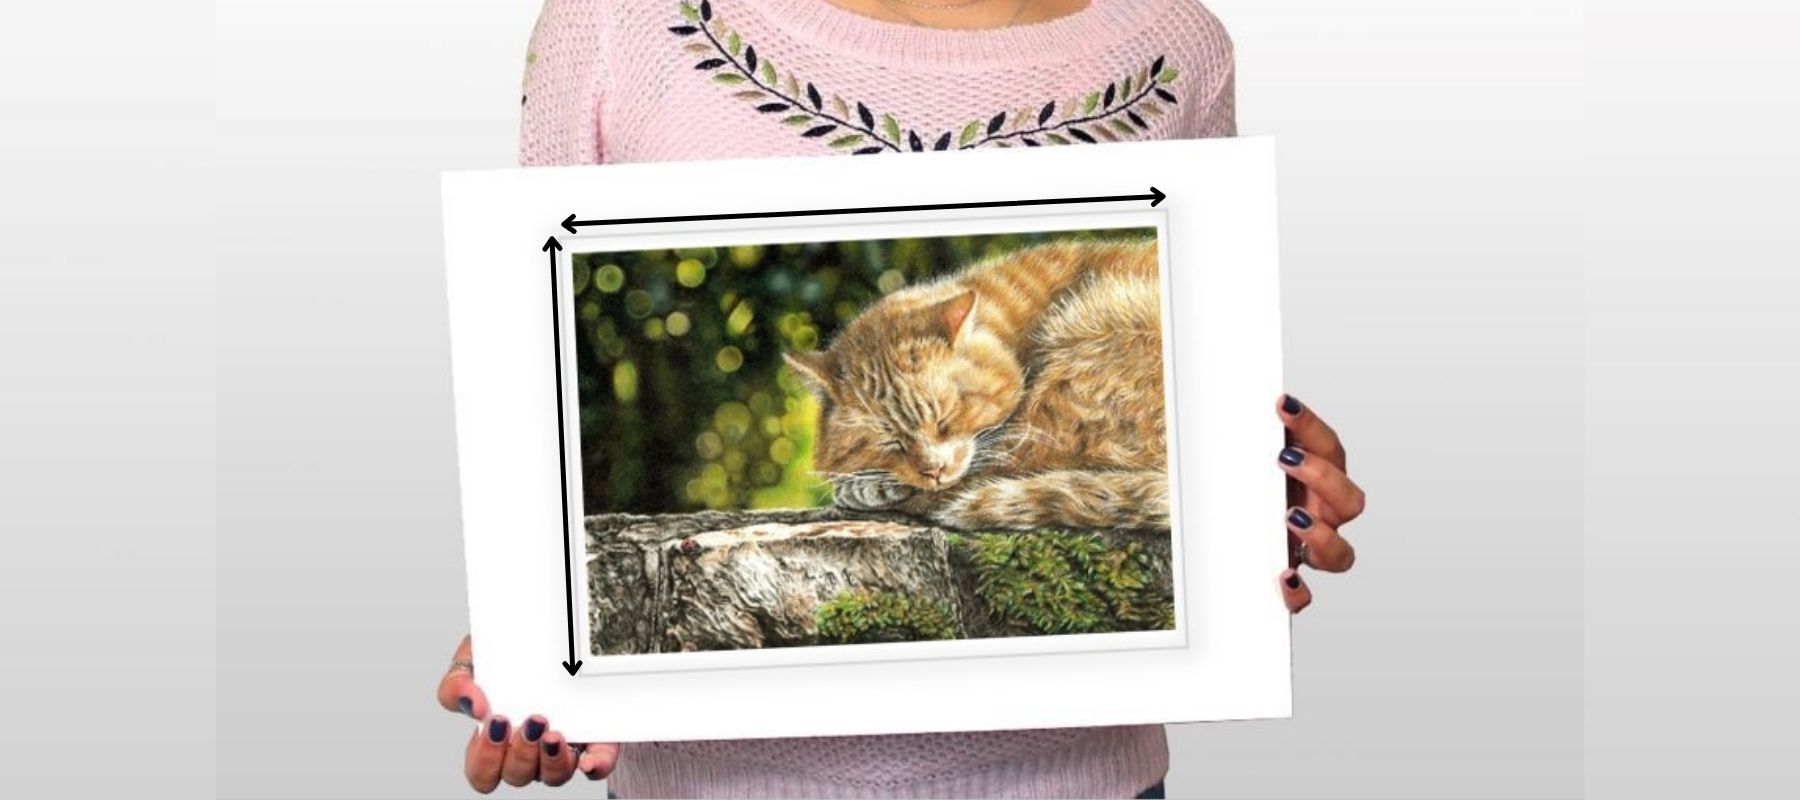
The aperture is the opening window dimension. Window mounts are cut at a 45-degree angle so you will need the right cutting tool for this.
The artwork size needs to be at least 1cm larger than the aperture to give you an overlap to stick to. If your artwork fills the page, you want the window mount to be overlapping your artwork design by 3mm for a neat crisp edge.
If you are mounting a print you will need to leave at least 1cm on the bottom edge for signing and numbering the print.
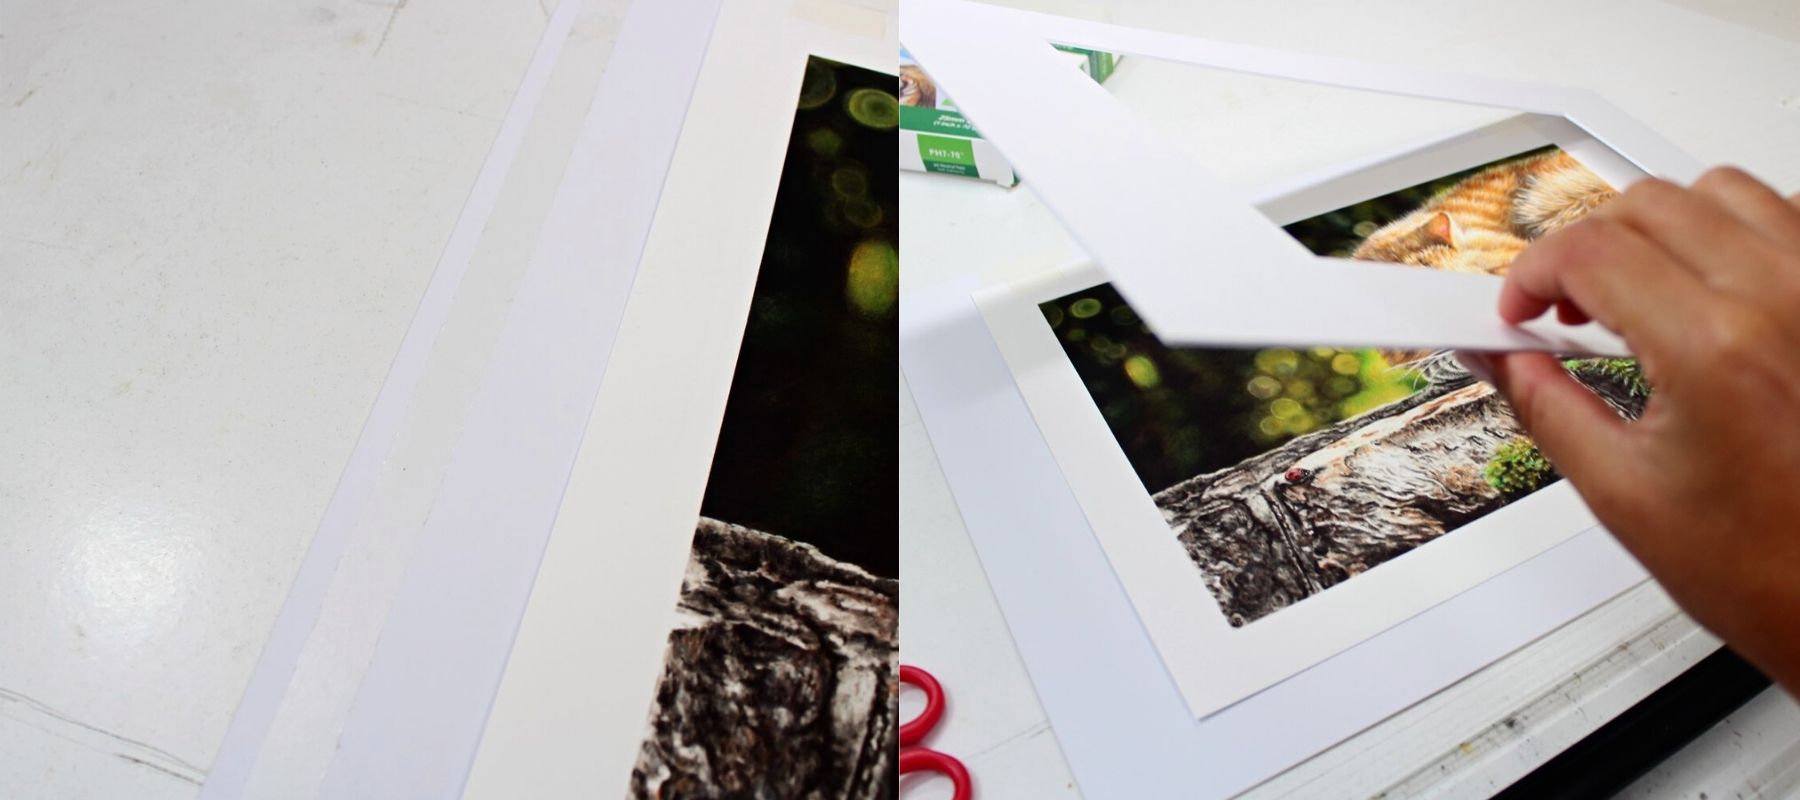
Step 2 – Cutting
Once you have marked out your aperture you can cut your window. Make sure your cuts are in the same direction when using your 45-degree cutting tool. Press firmly on the cutter so the blade goes all the way through the board.
There is also the option of purchasing pre-cut mounts or having your mounts cut for you by a professional framer. They can have a variety of colours and textures to hand and can be more cost and time effective than doing it yourself.
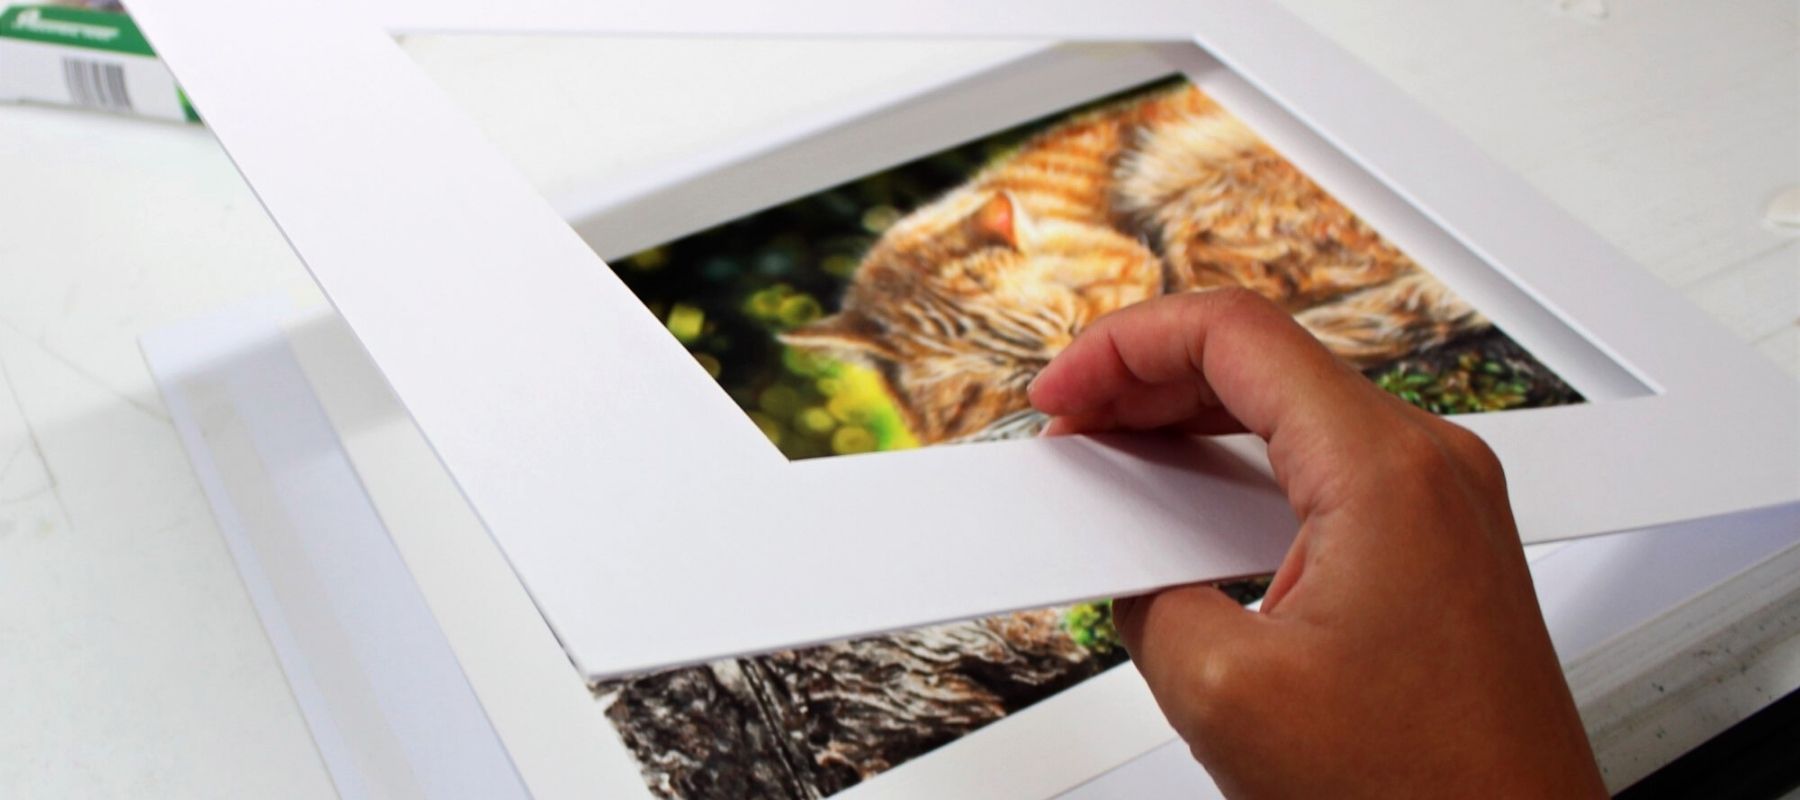
Step 3 – Book hinging
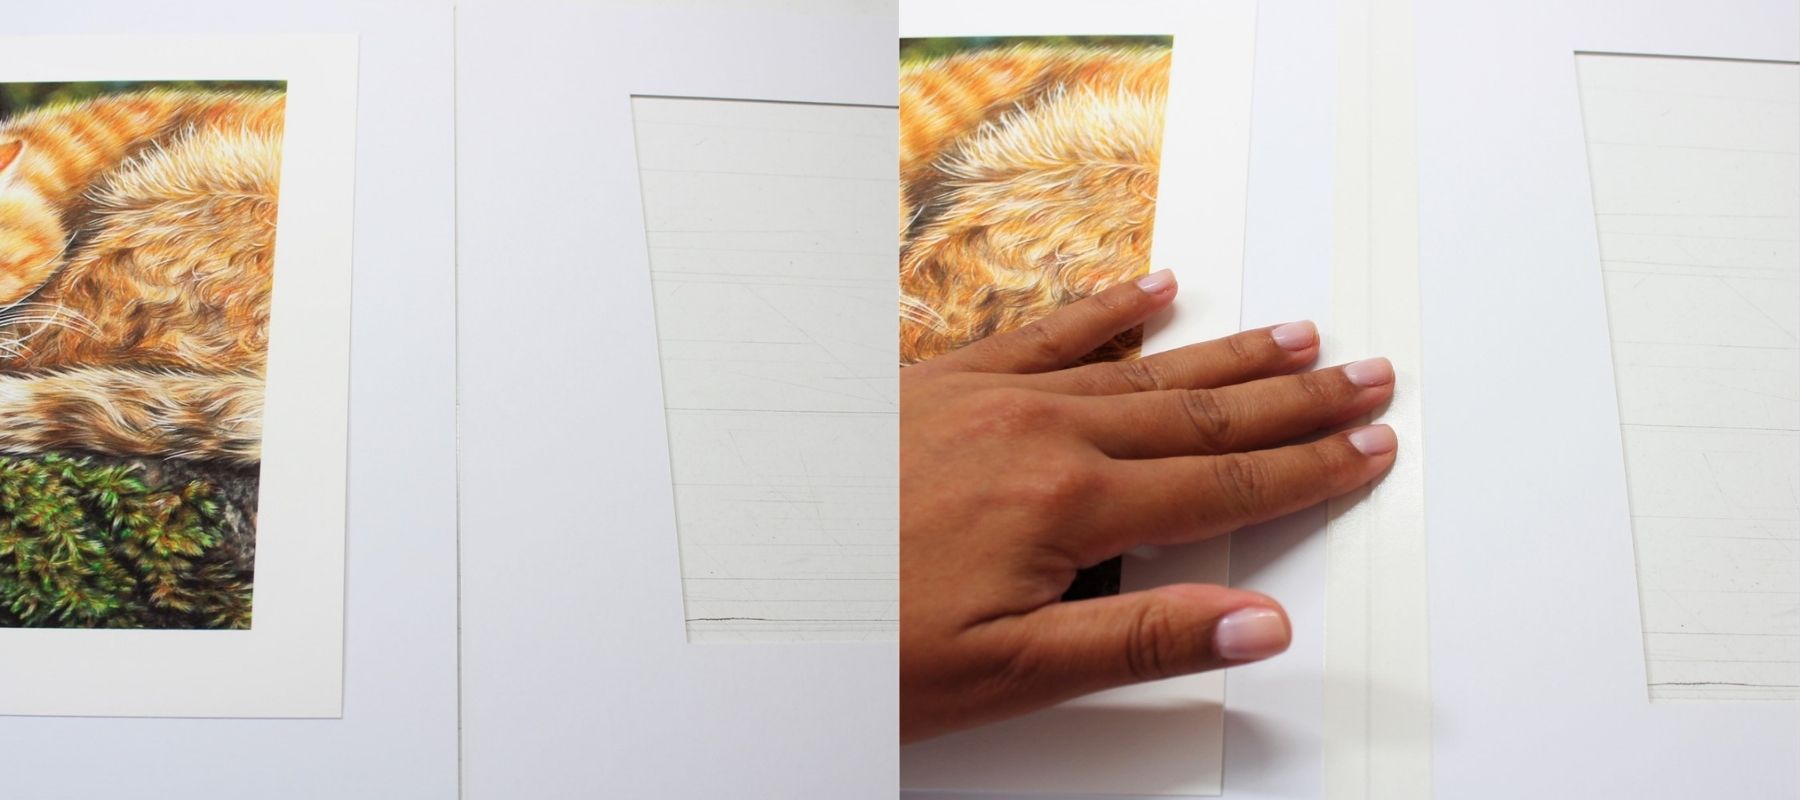
Now that your mounting board is cut and ready it is time to assemble. The easiest way to make sure everything is lined up is to first attach your window mount board to your backing board.
Line them up, side by side and add a strip of your acid-free hinge tape to tape them together. You can also tape them top to bottom, either way, has the same result, a book-like hinge for your mounts.
Step 4 – T-hinging
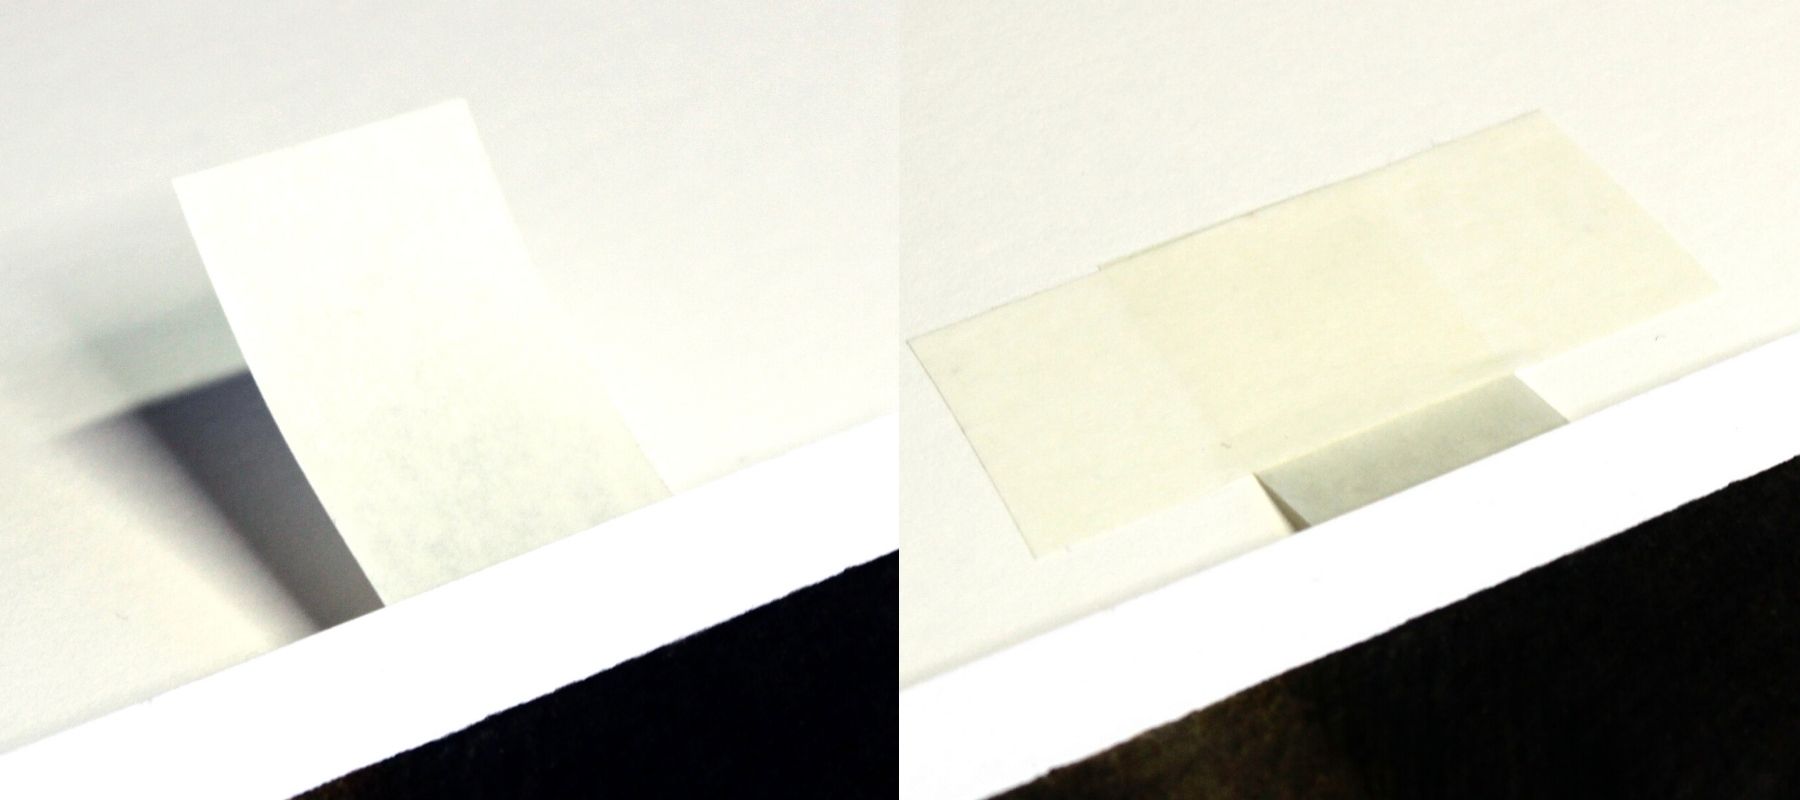
The T-hinge method of securing your artwork is preferred because it can be easily removed for re-mounting.
After you have aligned your artwork within the window mount, carefully lift the top of the art and secure around 5mm of tape to the front within the border of your artwork. If your artwork doesn’t have a border then attach the tape to the back but in the same location.
Take a second length of tape and place it across the exposed tape creating a T shape. Repeat this on both top corners of your artwork. Use the folding tool to secure the tape by rubbing it with firm pressure over the top.
This method hangs the image from the backing board and will allow the paper to move around as it expands and contracts.
Don’t add any more hinges or tape to any other sides of your artwork as this will lead to buckling and damage. The most common mistake is taping all four sides to the mount board which is not a conservation method.
Step 5 – Finishing off
Not always required but if you want maximum protection of your artwork you can add a backing board. Use double-sided tape around the edges of the backing board, far from your artwork, to secure the window mount in place.
Close your mount and press down firmly to secure the double-sided tape to the window mount.
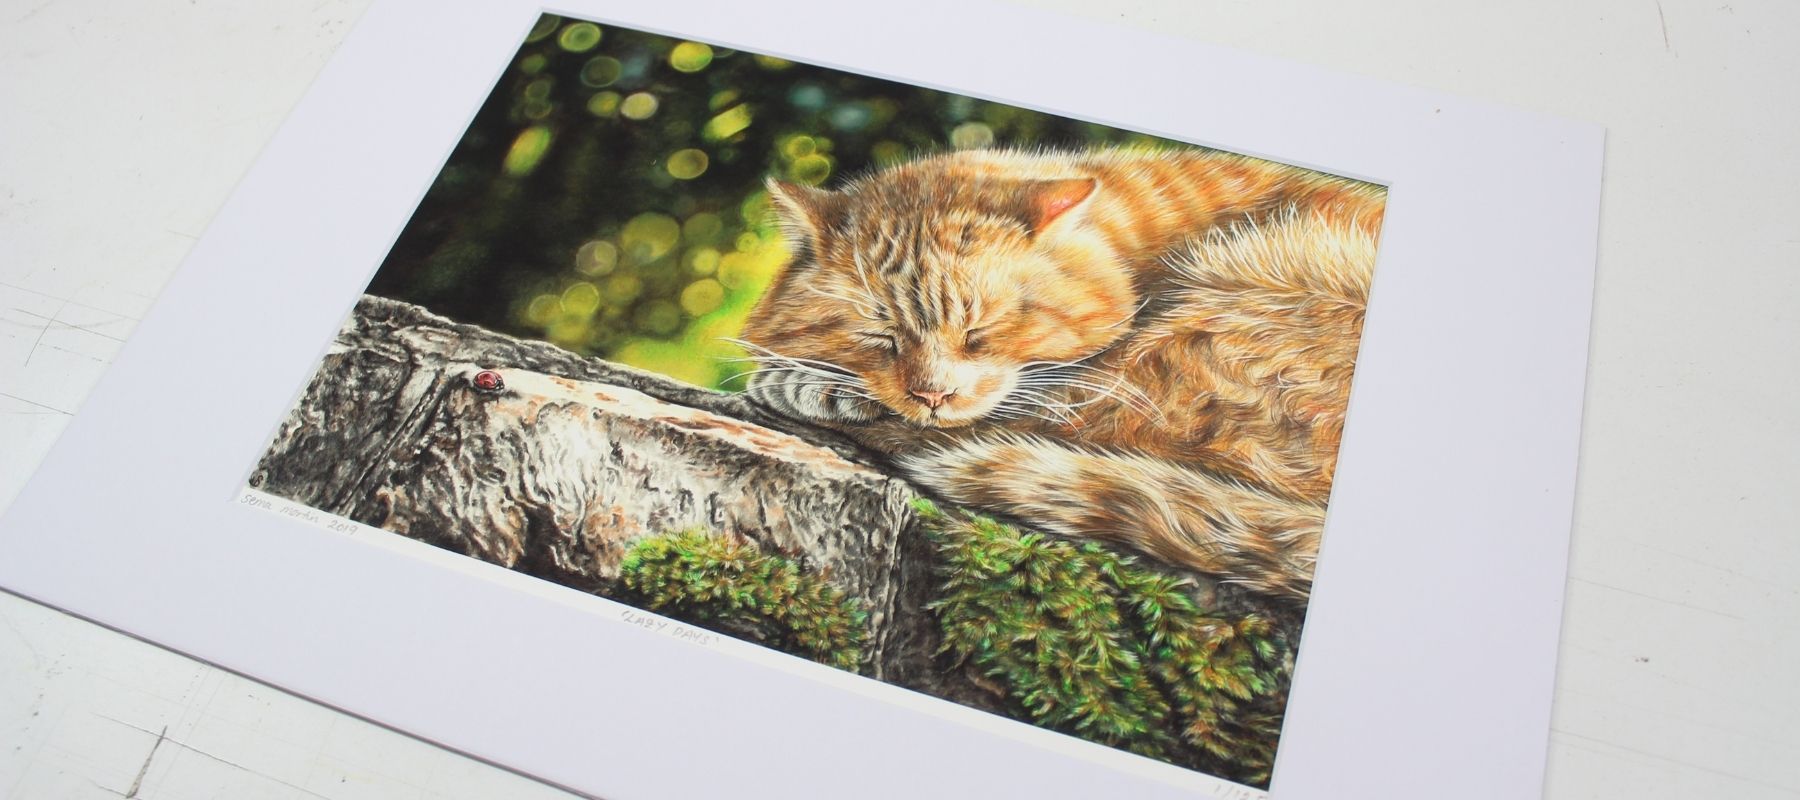
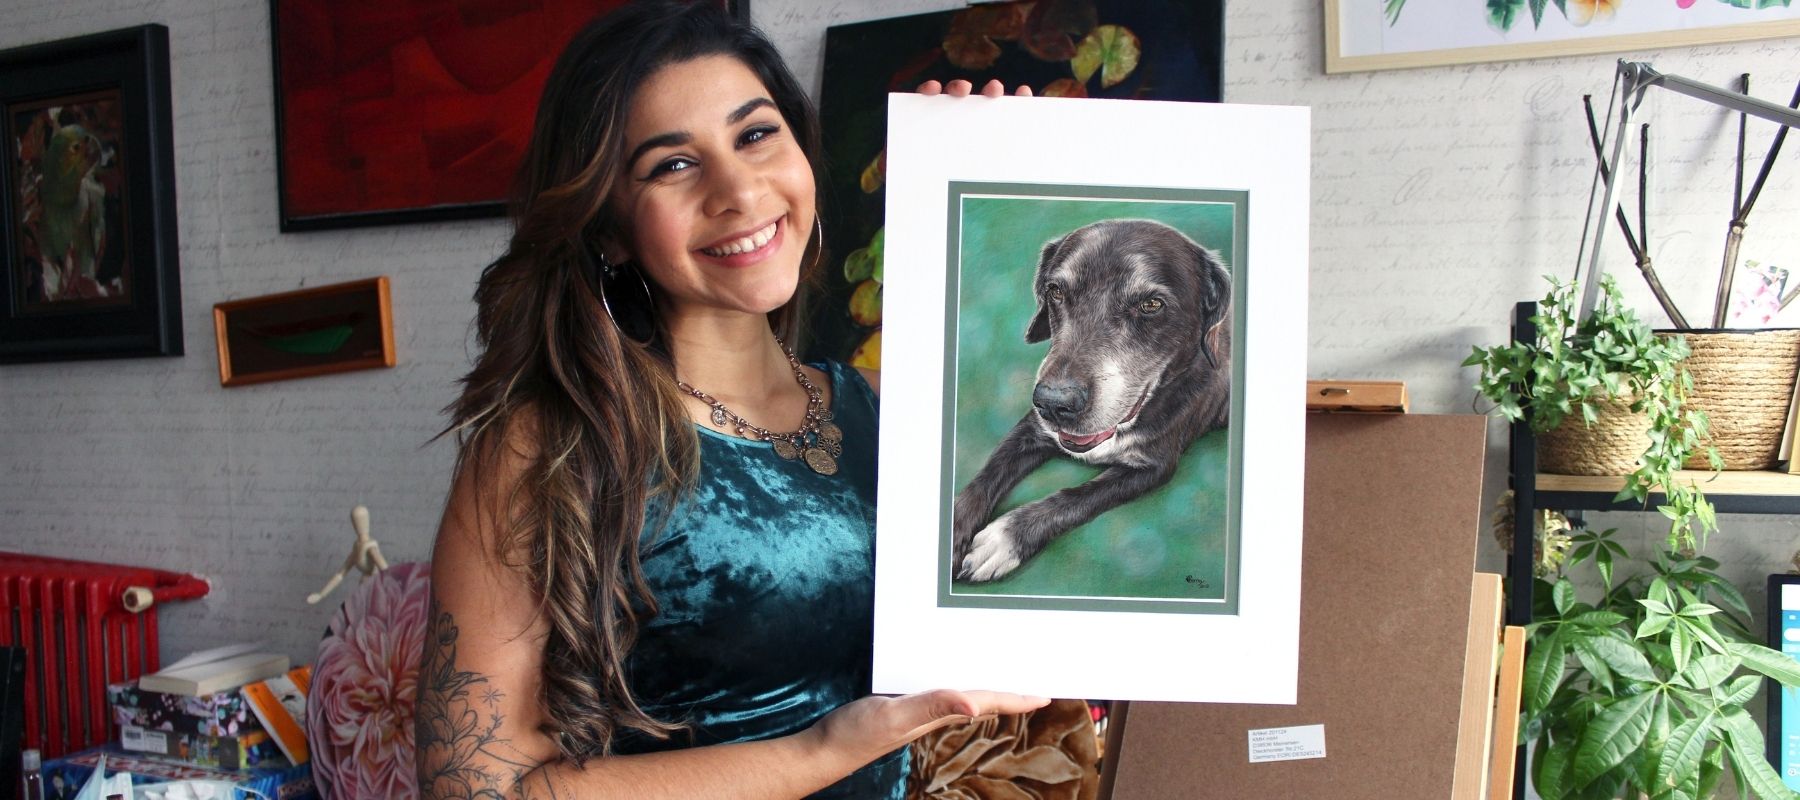
Voila, you have a beautifully mounted work of art!
Try experimenting with different coloured and sized mounts to maximize the final effect of your artwork.
Here is a quick video showing the process of using a pre-cut double mount:
View this post on Instagram
I hope this article has given you a new skill to try out and helps you take your art to the next level.